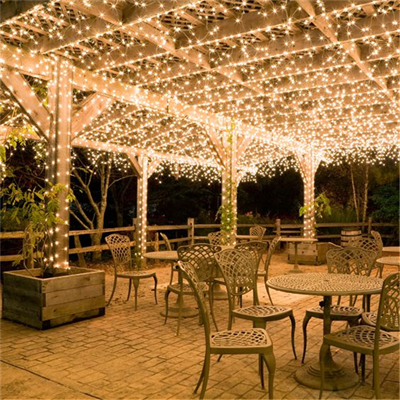
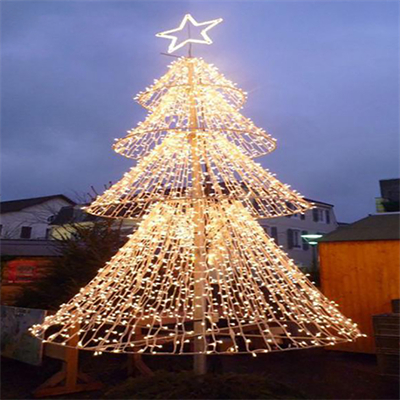
Fairy lights can add a touch of magic and whimsy to your photography, creating stunning and enchanting images. Here are some tips for capturing captivating photos using fairy lights:
- Choose the Right Location and Background:
- Select a suitable location that complements the mood you want to convey. It could be indoors, such as a cozy living room, or outdoors with natural elements like trees or a garden.
- Ensure the background is clutter-free and aesthetically pleasing, as it will be an essential part of your photo.
- Use Manual Mode:
- If you have a DSLR camera, switch to manual mode to have complete control over your camera settings. This allows you to adjust exposure, aperture, and shutter speed for optimal results.
- Use a Tripod:
- A tripod is essential for long-exposure shots or capturing still scenes. It helps eliminate camera shake and ensures sharp, clear images.
- Adjust Your Camera Settings:
- Set a low ISO (typically ISO 100 or 200) to reduce noise and capture cleaner images.
- Choose a wide aperture (small f-number like f/1.8 or f/2.8) to create a shallow depth of field, which can make the fairy lights appear as beautiful bokeh in the background.
- Experiment with longer shutter speeds (often several seconds or more) to capture the ambient light and the soft glow of the fairy lights.
- Focus Manually:
- Set your camera to manual focus mode and carefully focus on the subject. You may need to use live view or magnify the image on your camera’s LCD screen to ensure precision.
- Experiment with Lighting:
- Use natural and artificial lighting in combination with fairy lights to create interesting effects. For instance, a soft side light can add dimension to your subject.
- Consider using a reflector to bounce and diffuse light onto your subject for a flattering and balanced look.
- Frame Your Subject:
- Compose your shot by framing your subject with the fairy lights. You can have the lights surround the subject, create a halo effect, or use them as a background.
- Play with Colors:
- If your fairy lights come in different colors, use them creatively to add color accents to your photos.
- You can also use gels or filters in front of your lens to change or enhance the colors of the lights.
- Experiment with Bokeh Shapes:
- Create custom bokeh shapes by cutting out a small shape (e.g., a heart or star) from a piece of black cardboard and placing it in front of your lens. This can add a unique touch to your photos.
- Capture Movement:
- If your fairy lights are hanging, you can capture a sense of movement by having your subject interact with them. Ask your subject to twirl, dance, or blow on the lights to create dynamic shots.
- Shoot in RAW:
- Whenever possible, shoot in RAW format. RAW files retain more data, giving you greater flexibility in post-processing, especially when adjusting exposure and color.
- Edit Mindfully:
- Use photo editing software to fine-tune your images. Adjust exposure, contrast, and colors as needed while preserving the enchanting quality of the fairy lights.
- Practice and Experiment:
- Don’t be afraid to experiment with different angles, poses, and settings. Photography is an art, and practice is key to achieving the desired results.
Remember that fairy light photography often requires patience and experimentation to capture the perfect shot. Embrace creativity and have fun while exploring the enchanting world of fairy light photography.


